Exporting A Mesh to DCS#
Preparing the Material#
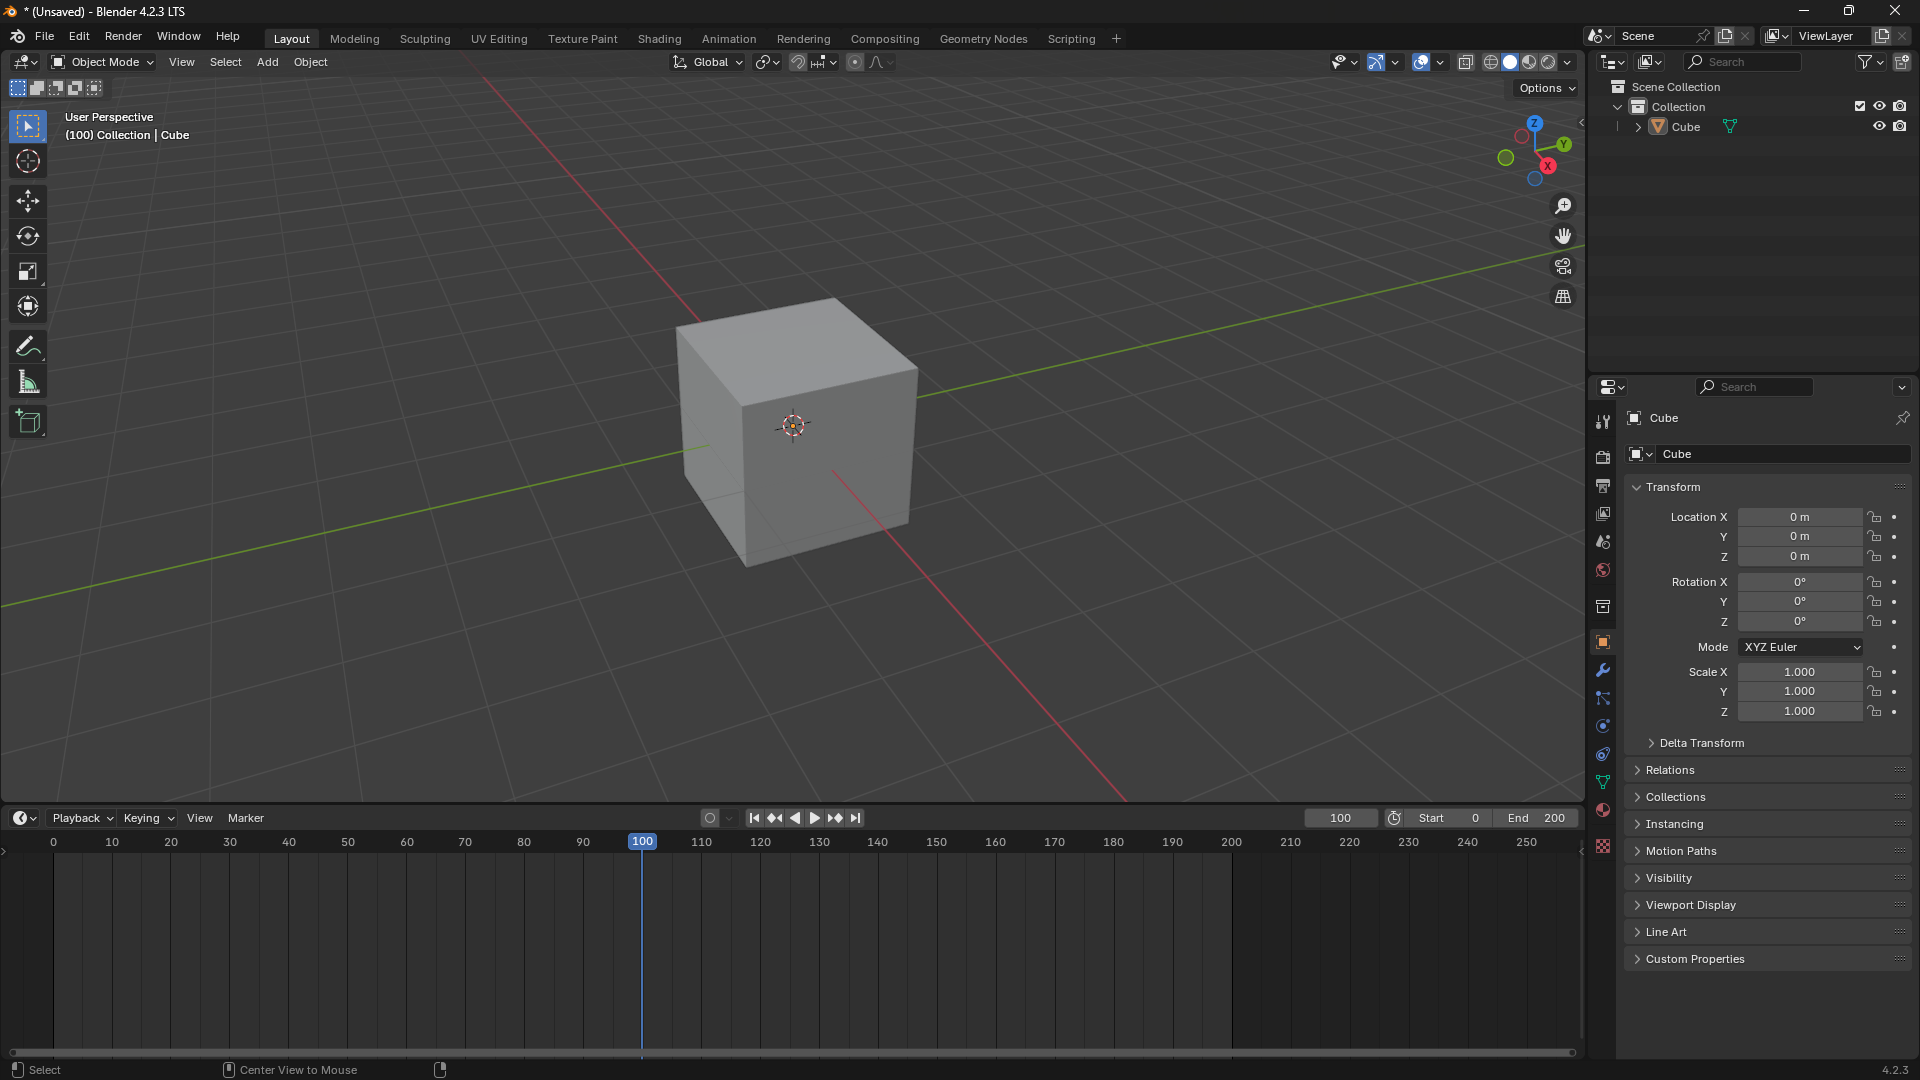
To export your first mesh into the .edm format, start with a blank blender cube, as seen below.
The "Front" of your model faces positive X, so be sure to face the nose of your vehicle or aircraft towards positive X.
Note
Make sure your mesh has its Rotation and scale applied, this can be done by selecting your mesh, pressing CTRL + A and selecting Rotation and Scale
Switch to the shading tab, if the cube does not have a material by default, create one.
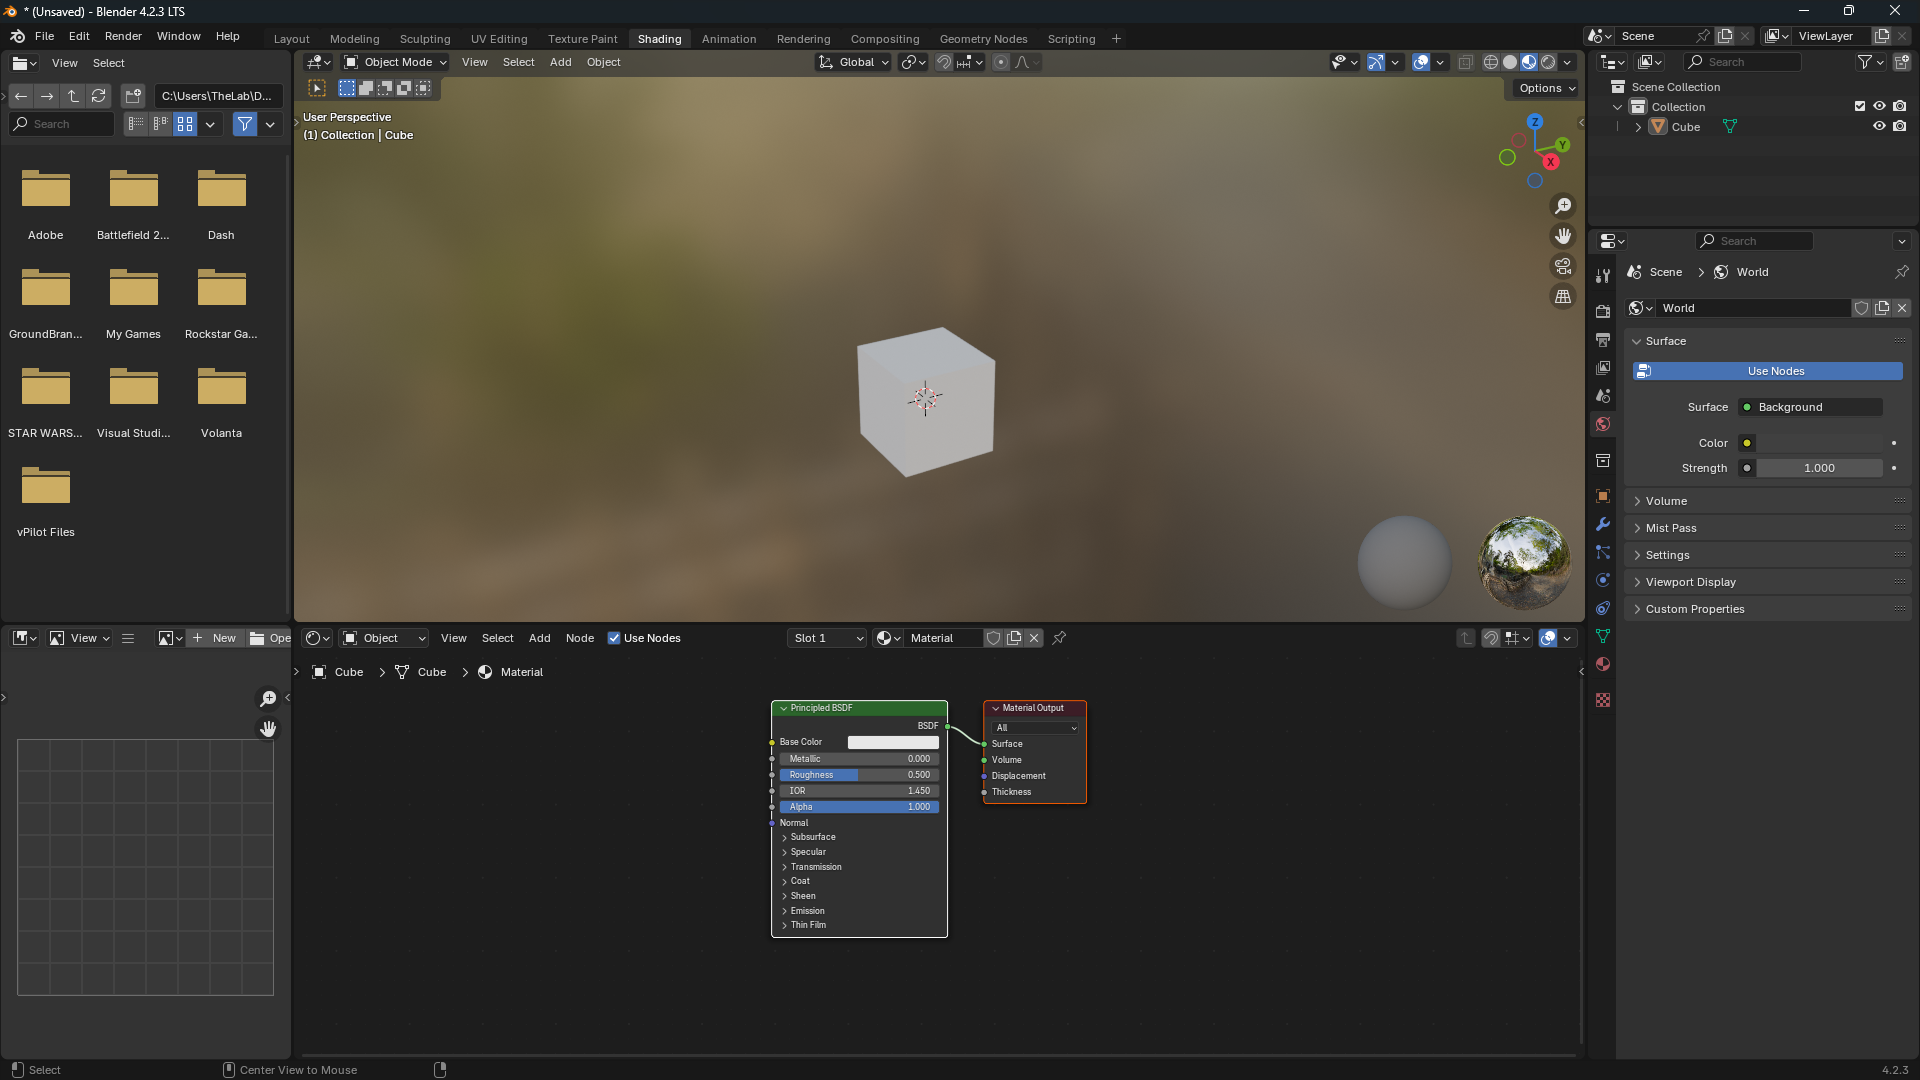
Next, We will need to configure the material nodes with the EDM Materials.
First, remove the default Principled BSDF node, but leave the Material Output Node.
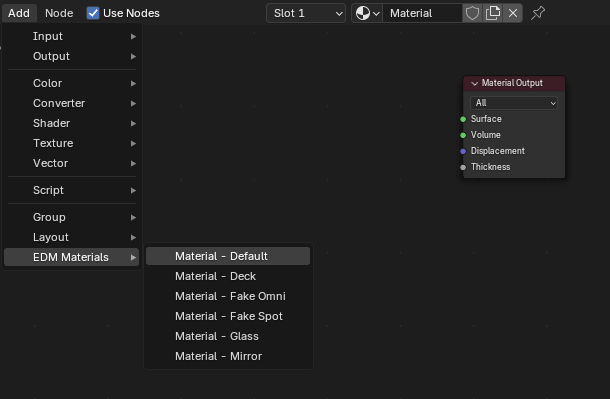
Next, Either by pressing SHIFT + A or by clicking Add in the Node Editor, navigate to EDM Materials > Material - Default.
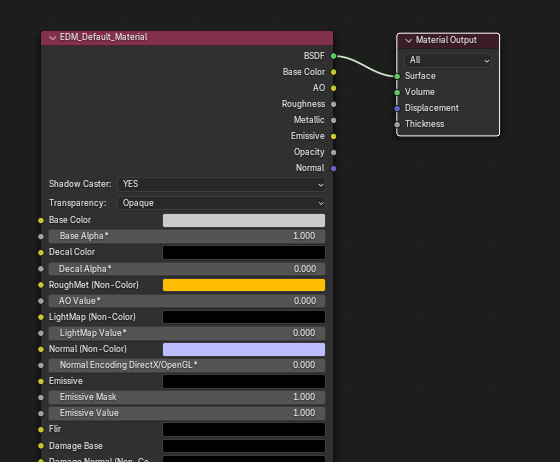
With the EDM_Default_Material Node in place, connect the BSDF point of the EDM material to the Surface point of the Material Output. An example of this can be seen below.
Exporting to EDM#
We're now ready to export our cube to an .edm file!
Navigate to File > Export > Eagle Dynamics Model (.edm)
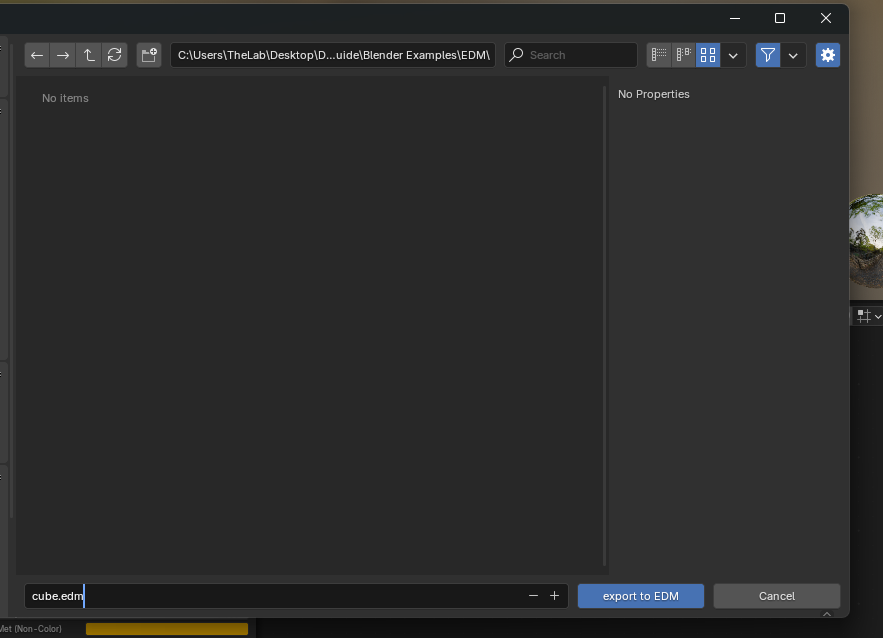
Then Name and save your file in your desired location by clicking export to EDM
Opening in ModelViewer#
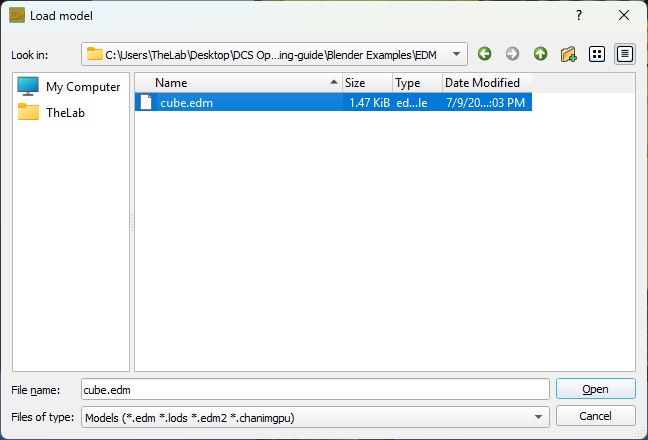
Open ModelViewer, and go to File > Load Model or CTRL + N
Navigate to your edm file, select it, then press load
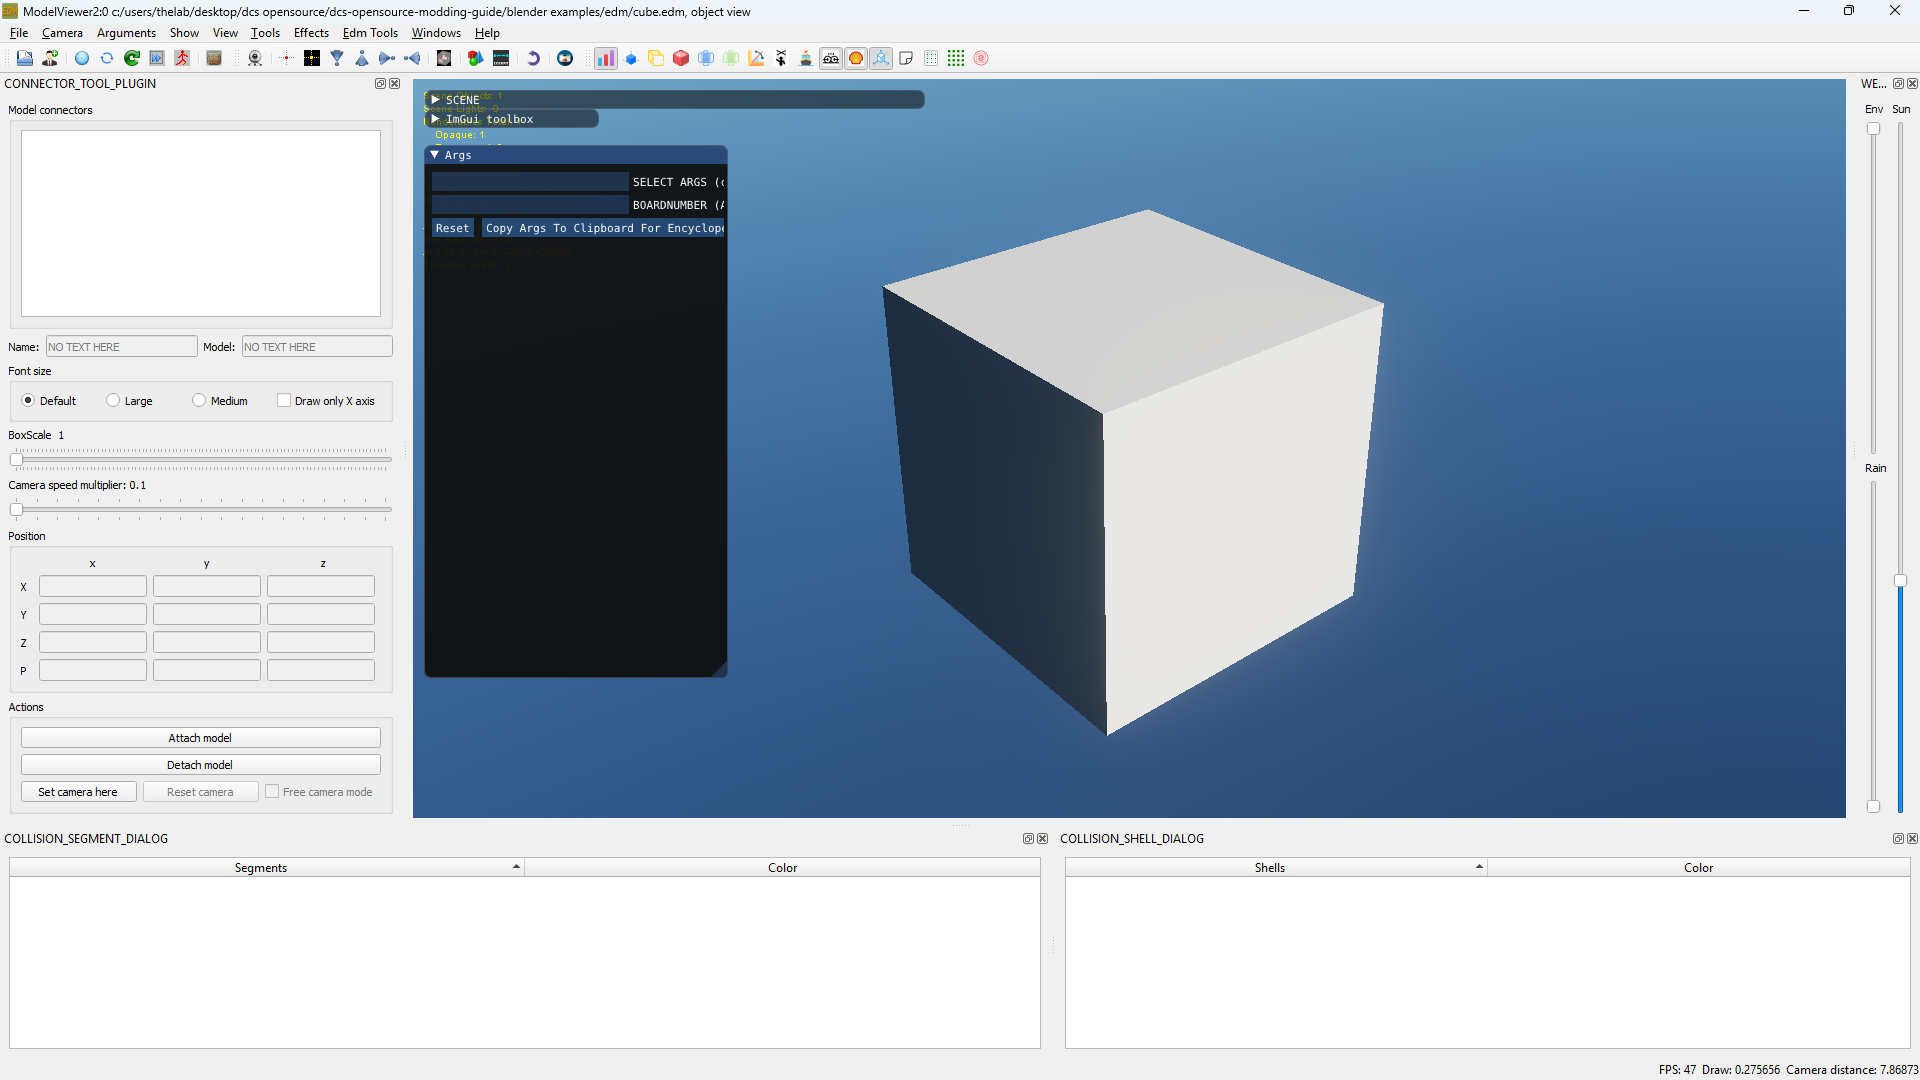
You should now see a white cube, very similar to the image below.
Multiple Meshes/Materials#
Any object with an EDM material assigned will export to DCS, if you add a second mesh, assign either your existing EDM material, or add a new one, and it will export to DCS
Multiple Materials per Mesh#
The ED Exporter supports multiple materials per mesh, there is nothing special needed to setup, just all materials in the mesh need to be configured to be EDM materials.
Adding a Texture#
Back in the node editor, go to Add > Texture > Image Texture
Then connect the Color and Alpha points on the image texture to the Base Color and Base Alpha points of the EDM Material
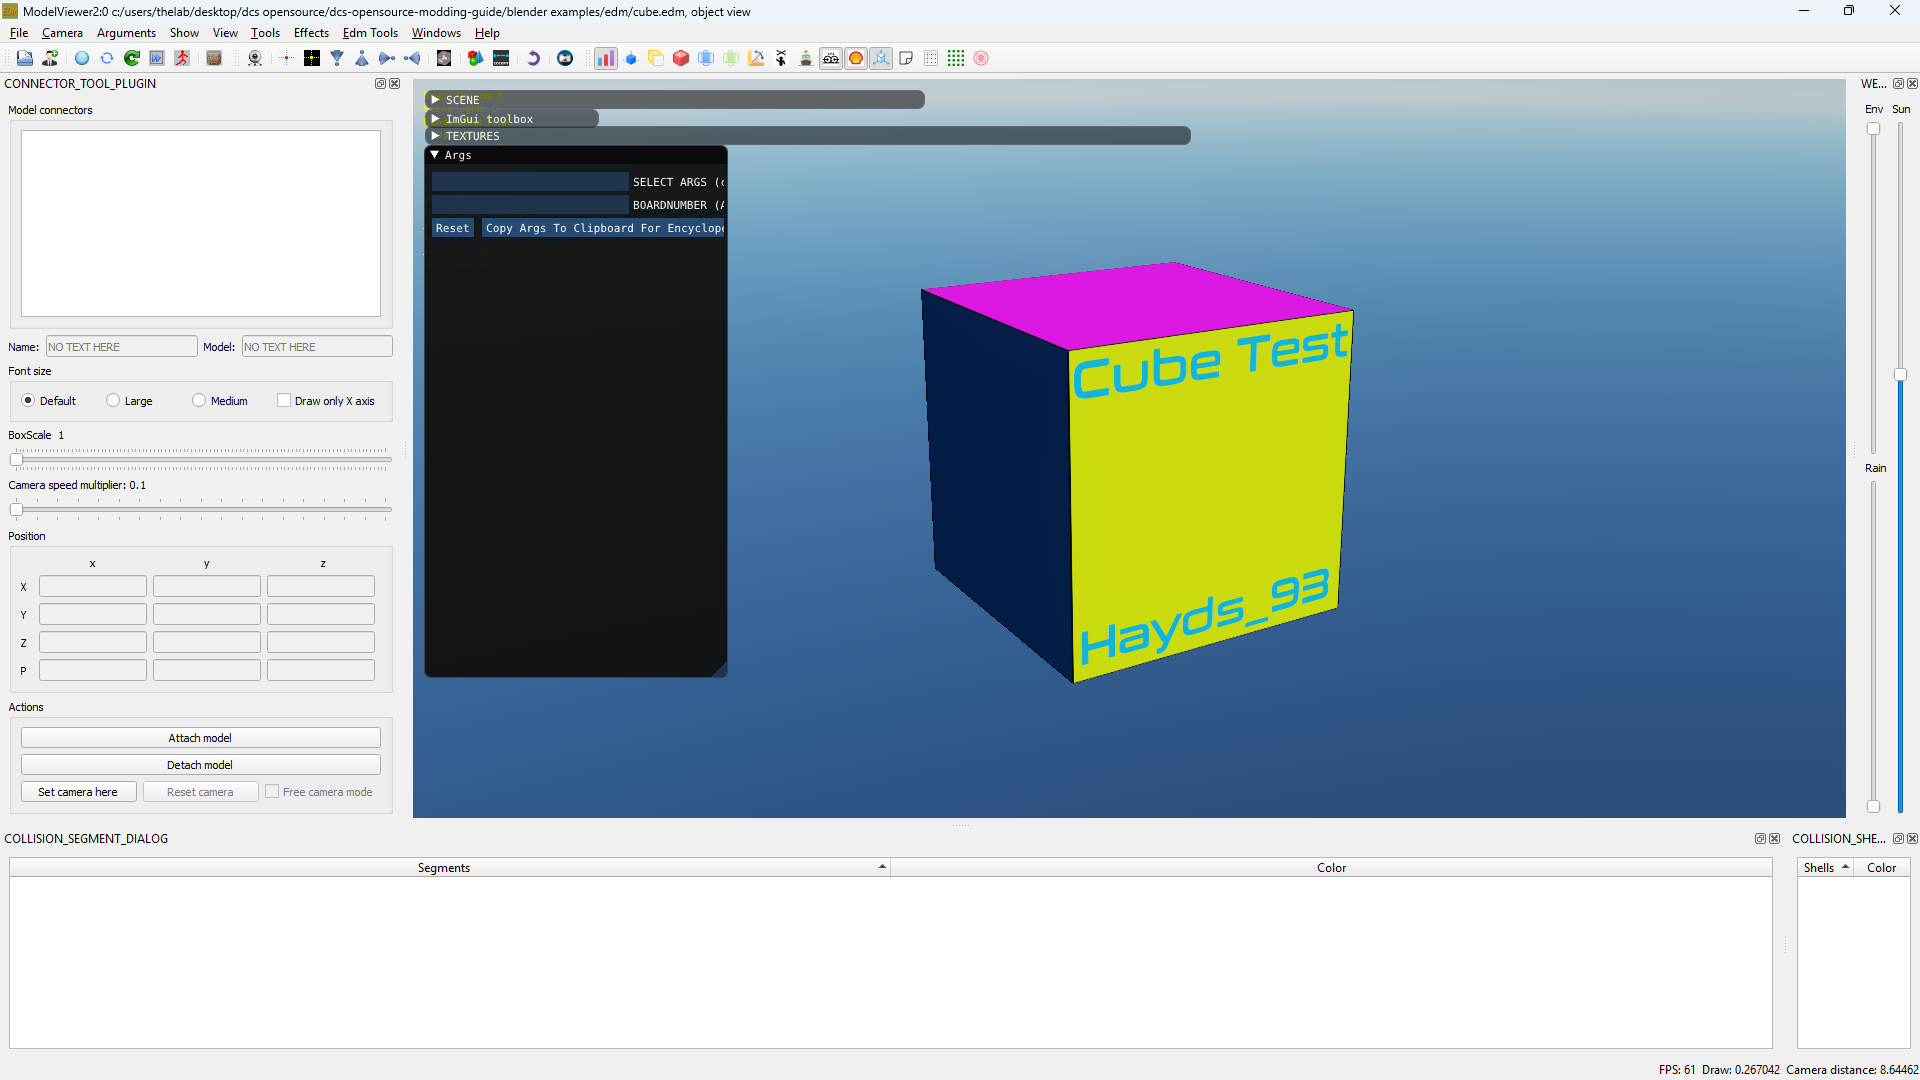
Select your image in the Image Texture Node. Your project should look similar to the image below.

repeat the steps in Exporting to EDM
Then close and re-poen modelviewer, and reload your EDM file
Warning
Textures will not appear in ModelViewer unless they are properly mounted.
A typical working directory structure is: (if this doesnt work, send Hayds_93 a DM on discord and I'll update it)
Blender Project Structre#
While not necessary, you can bake all LODs (Level of Detail) and the collision model into one .edm file.
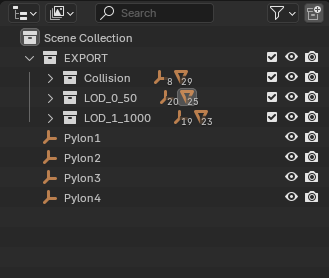
Starting with an EXPORT Collection, then having sub-collections for collision, and LOD_{LOD_NUMBER}_{LOD_DISTANCE_IN_M} (eg. LOD_0_50).
Each sub collection should have a copy of the mesh, and they should not share animations or parents. Duplicate the animation empties, then re-apply the actions to the new empties.
Common Errors#
Index out of range error#
If you get an error similar to this:

This error is likely to do with material corruption from converting blender versions, to resolve:
- Open the Blender python console and run:
- Re-Export your mesh